
 DeltaSnap
  DriveSync
  Noject
  DeltaSync
 A Linux VM in two commands
mvz create ubuntu dev --runtime containerd --home
mvz shell dev
create downloads Ubuntu's cloud image once, verifies it, keeps it as a template, and makes dev as a linked clone. --runtime containerd adds containerd with nerdctl, and --home shares your home folder read-only at the same path; without them the VM gets no container runtime and no shared folders. shell starts the VM and opens SSH as soon as it answers, as your own user with your SSH keys, in the folder you are in when that folder is shared. cloud-init finishes installing the MacVisor agent and containerd in the background; mvz wait dev returns when it is done.
The account has no password, so you sign in with an SSH key. If create finds none in ~/.ssh or an SSH agent, it offers to make ~/.ssh/id_ed25519 for you. Say no, or run it from a script, and the VM gets MacVisor's own key instead: mvz shell and exec sign in with it, plain ssh and editors don't.
In the app: ⌘N, Linux, Cloud Image, pick a distribution, choose a runtime under Containers, turn on Share my home folder (read-only) if you want it, Create. The form remembers those two choices for your next Linux VM. Cloud images and macOS installers lists the catalogue and what cloud-init sets up.
Then:
mvz exec dev -- nerdctl run --rm alpine uname -m     # aarch64
mvz ip dev                                           # addresses; dev.mvz resolves on the Mac
mvz create ubuntu web --runtime docker               # Docker Engine, with a docker context
docker --context macvisor-web ps
Ports the guest listens on appear on the Mac's 127.0.0.1 at the same number, and http://dev.mvz:8080 reaches the guest by name.
A macOS VM
mvz create macos-27 mac --ssh
mvz wait mac --ssh
mvz shell mac
create downloads Apple's macOS 27 installer once, verifies it, and installs it into a new VM. That takes 20–30 minutes; watch the task pane or mvz tasks. wait follows the install, then starts the VM without a window and returns once SSH answers; shell run while macOS is still installing says so and exits. The first boot creates the account mac (password macvisor), signs in, and turns on Remote Login. MacVisor then installs the MacVisor Agent and authorises your SSH keys, so shell needs no password; connect before that has finished and it asks for the password once. This step needs the Local Network permission from first-run setup.
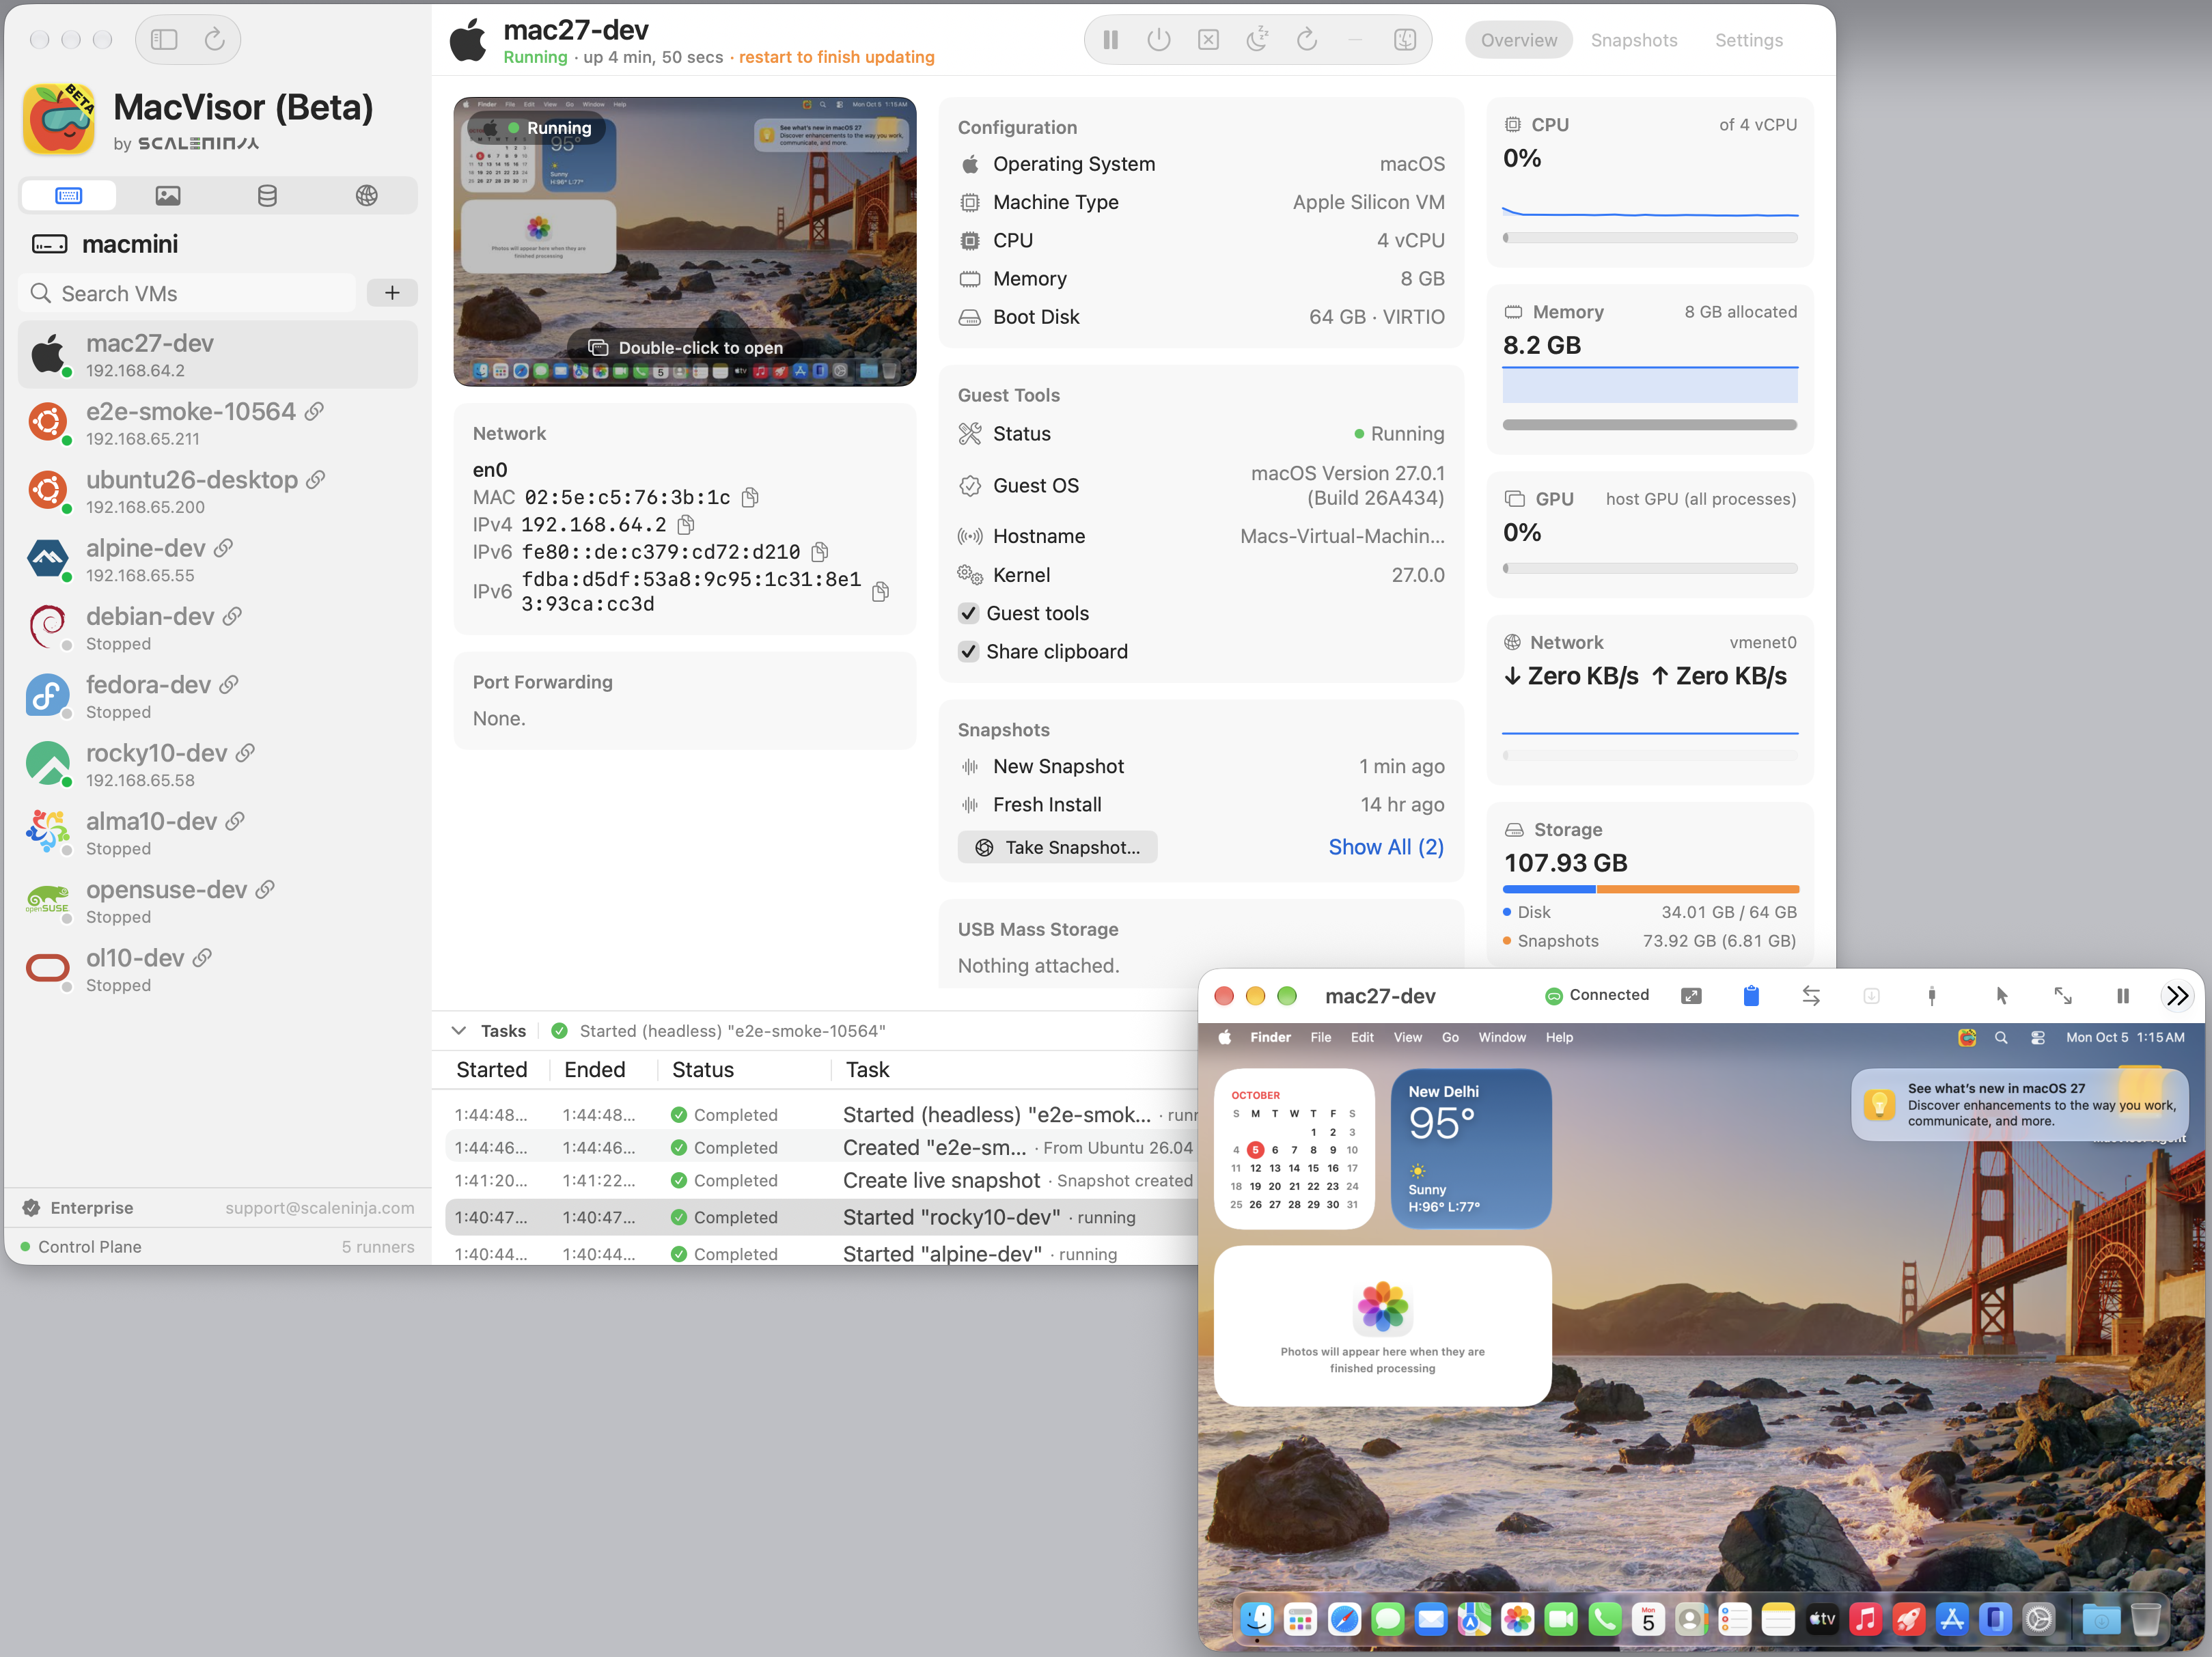
In the app: ⌘N, macOS, pick an installer or a local .ipsw, keep or change the account, Create. macos-latest installs the newest macOS this Mac supports. macOS 26 and earlier guests go through Setup Assistant by hand; see Create VMs and templates.
Linux from an ISO
⌘N → Linux → Installer ISO attaches an ARM64 ISO as USB storage and boots the distribution's installer. Install to the disk, eject the ISO afterwards (VM Settings → Storage, or mvz set <vm> --iso none), and install the guest tools by hand; see Guest tools.
Take a first snapshot
Open Snapshots and take a named snapshot, or run mvz snapshots take dev --name baseline. A disk-only snapshot is a good baseline; a live snapshot also saves memory, so the VM resumes exactly where it was.
Make it reusable
A cloud-image VM already shares its template's disk. For a VM you prepared yourself, Convert to Template… (mvz template <vm> on) makes it a base and Create VM Using This Template… (mvz create <template> <name>) stamps out copies. Linked Clone… (mvz clone <vm> <name> --linked) forks a VM instantly without copying its disk; see Linked clones.
The CLI
mvz (also linked as macvisor, the same command under its longer name) is installed into /usr/local/bin at first-run setup:
mvz list
mvz images
mvz show dev
mvz snapshots list dev
mvz help create
<vm> is a VM's name, its id, or the first 4 or more characters of the id. See Using the CLI.